October 25, 2026 · RestoFlo · South Florida
Direct answer: A kitchen backsplash usually ends at the underside of upper cabinets where cabinets cover the wall. On an open wall, continuing the finish to a hood, shelf, window edge, or ceiling can be a deliberate design choice—not a universal requirement. Decide the stopping line before ordering tile: account for the range hood, outlets, cabinet layout, exposed edges, countertop joint, cleaning needs, and the condition of the wall. A kitchen-remodeling assessment can turn those measurements into a coherent installation plan.
If you are planning a South Florida kitchen remodel, the question is not simply “How many inches?” Cabinet height, counter height, windows, and appliances vary. This guide compares standard under-cabinet and full-height backsplash layouts. It is about the finish's height and termination, not whether new tile may be bonded over an existing backsplash.
Where does a standard backsplash end?
When upper cabinets span the counter, a clean, common stopping point is their underside. The backsplash covers the wall from the countertop to that cabinet line. There is no single universal vertical dimension because the cabinet-to-counter gap changes with the actual room and design. Measure after the cabinet and counter layout is finalized, not from a generic photo.
The countertop-to-wall joint needs an appropriate movement/sealant detail for the selected materials rather than treating tile grout as a magic waterproof joint. Plan the final joint with the installer and product instructions. At the cabinet underside, consider how the last course of tile will meet the cabinet without an awkward sliver. Tile size, orientation, grout spacing, and any trim can change the result.
A standard-height treatment may use less material and create a quieter visual field. It does not mean every visible patch beside an upper cabinet must stop at an arbitrary horizontal line; make a deliberate transition at an inside corner, cabinet edge, window casing, or other planned architectural boundary.
When does full-height tile make more sense?
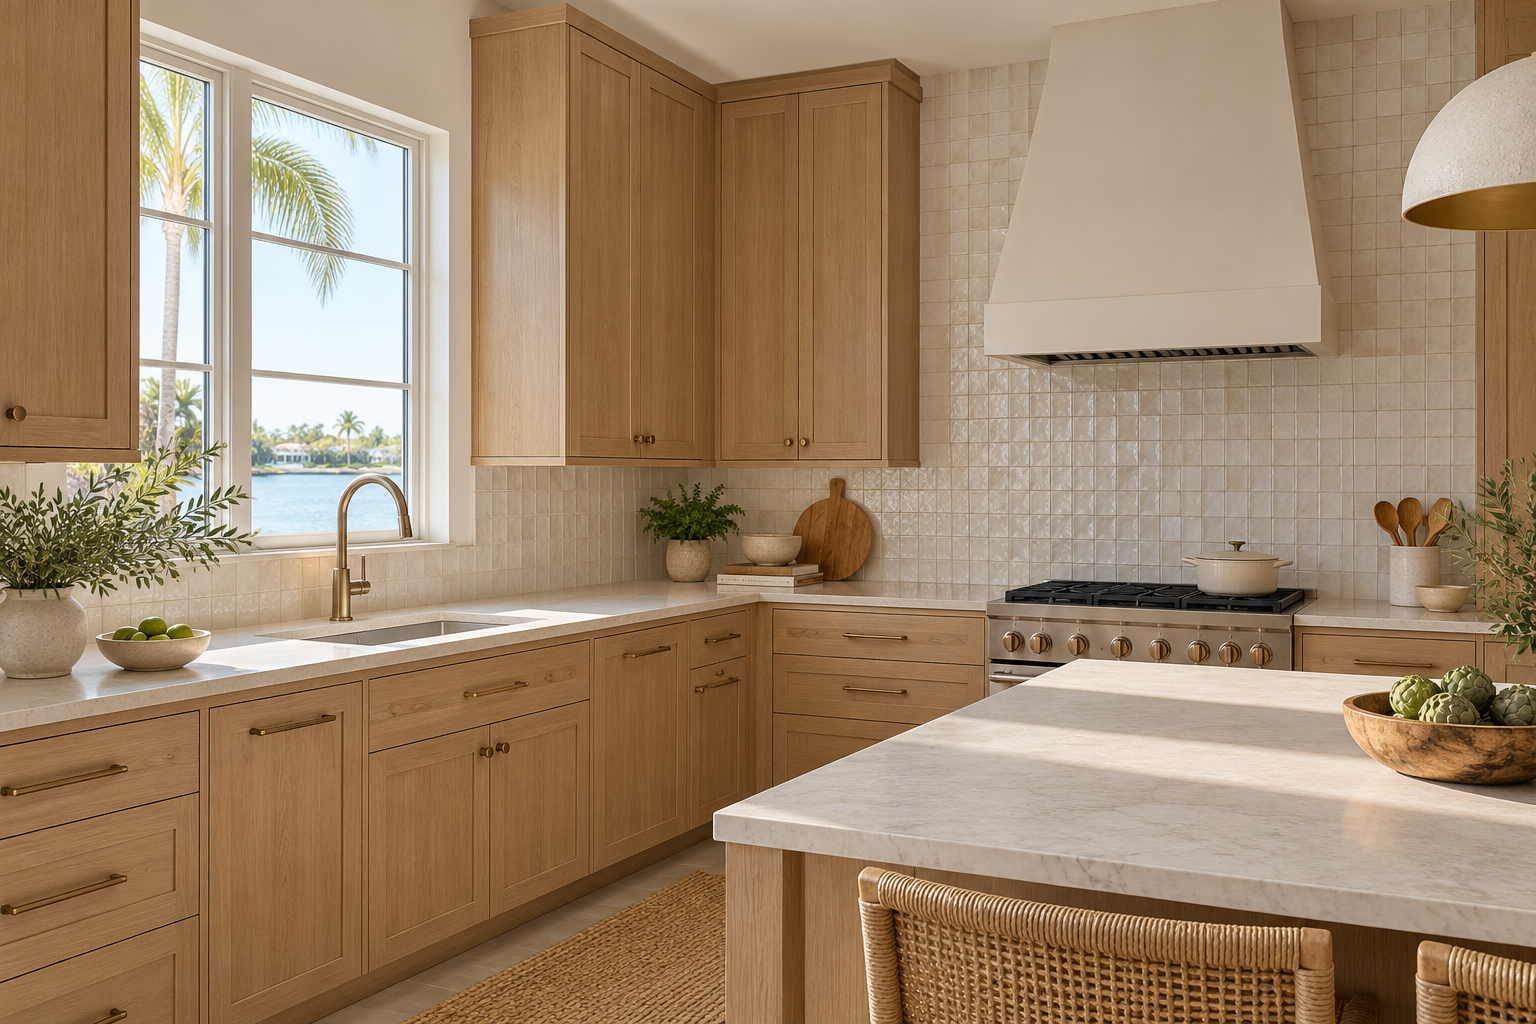
Full-height tile can frame a range hood or an open wall with few upper cabinets. Continuing to the ceiling can make a tall visual feature; terminating at a hood, shelf, or window line can also work when the edge looks intentional. Do not claim that full-height tile alone makes a kitchen waterproof. Material choice, substrate condition, edge detailing, and maintenance matter more than extending a decorative field.
Full-height work increases material, cutting, wall preparation, and coordination around a hood or window; the scope and cost depend on the actual plan. Ask for an elevation drawing of each wall. Mark the finish boundary, upper-cabinet edges, hood, shelves, window returns, outlets, switches, and lighting before tile is ordered. Where a stove is involved, check the appliance and range-hood manufacturers' installation and clearance requirements rather than guessing from the picture of a finished kitchen.
The NKBA planning-guidelines overview identifies finishes, electrical planning, lighting, and building-system coordination as connected parts of kitchen design. It does not prescribe a single backsplash height for every kitchen. Use it as context, then verify the actual project specifications and local requirements.
Three common transition layouts
| Wall condition | Possible stopping line | Decision to resolve on site |
|---|
| Continuous upper cabinets | Underside of cabinets | How will the final tile course and under-cabinet lighting meet the cabinet? |
| Open range wall | Hood, designed shelf, or ceiling | What do the hood instructions, exposed edges, and overall wall composition allow? |
| Window or partial cabinets | Window casing, return, inside corner, or a purpose-made edge | Will the finish end deliberately rather than in an uneven strip? |
These are design options, not guaranteed specifications. A mockup or taped elevation can help compare them in the actual light and at the actual sightlines. If full-height tile ends halfway across an open wall without a planned trim or return, ask to see that exposed edge before approving installation.
South Florida checks before selecting the height
Humidity alone does not prove the wall is wet. If there is staining, soft drywall, a recurring sink leak, swelling at a cabinet, or a musty odor, determine the cause before covering the wall with a new finish. The EPA's moisture guidance stresses fixing water problems rather than concealing them. If an active leak is suspected, leak detection is a separate service decision; do not treat a decorative backsplash as restoration.
Plan electrical devices before setting tile. New finish thickness can affect receptacle and switch positions and cover plates. An appropriately qualified trade should assess any electrical changes and applicable local requirements; do not recess or bury devices merely to preserve the chosen pattern. Confirm under-cabinet lighting and wiring at the same time. In a condominium, check association rules and any required building approvals for the actual scope. A simple finish change and an electrical or structural alteration are not the same permit question.
For a finish-only remodel, ask what the wall substrate is, whether it is flat and sound, how the selected tile or panel attaches, how exposed edges and penetrations finish, and how the countertop joint is maintained. If you are keeping the old tile, our separate guide explains the tile-over-tile assessment. Do not assume the old wall can carry a new layer without inspection.
A short decision checklist for your remodeling assessment
- Photograph each wall straight on and mark the exact upper-cabinet, hood, window, and countertop lines.
- Choose one intentional finish boundary for each wall and sketch how adjacent walls meet at corners.
- Check the sample tile or panel's size, pattern alignment, exposed edge, and cleaning requirements.
- Confirm wall condition, any leak history, counter joint, outlet locations, and under-cabinet lighting.
- Review the material quantity, labor scope, manufacturer directions, appliance instructions, and any approvals for the actual design.
RestoFlo's kitchen remodeling service includes planning and backsplash finishes in South Florida. To discuss your specific layout and request a free assessment, call (754) 289-4815 or contact RestoFlo. The recommendation and price depend on the property, selected materials, and verified scope; this guide is not a project-specific construction specification.
Frequently asked questions
Is there a standard backsplash height in inches?
Not one that fits every kitchen. Under upper cabinets, the practical height is the measured distance between the finished countertop and the cabinet underside. On an open wall, the hood, shelf, window, or ceiling may define a different intentional stopping point. Measure the actual layout before ordering.
Should backsplash tile go all the way to the ceiling?
Only if it suits the wall, chosen finish, and budget. A ceiling-height feature can make sense behind a hood or on an open wall; a well-planned shorter finish may work better elsewhere. Detail the exposed edge and confirm hood and appliance requirements before installation.
Where should tile stop beside a window or cabinet end?
Choose a deliberate edge at a casing, inside corner, return, cabinet boundary, or suitable trim. Draw it on an elevation so the last tile course and any exposed edge are planned rather than improvised after setting begins.
Does a taller backsplash fix a damp kitchen wall?
No. A decorative tile field does not correct a plumbing leak, wet substrate, or recurring moisture source. Investigate and address the source and affected wall first; then select an appropriate finish assembly for the verified condition.
Can the backsplash height be decided after cabinets are installed?
It can be measured then, but it is better to plan the termination, tile module, outlets, lighting, and hood relationship before ordering or installing. Field measurements after cabinets and countertops are set should confirm the design, not reveal an unplanned exposed edge.
Sources and scope
This educational design guide is not a measurement, permit determination, installation specification, project guarantee, or representation that the pictured kitchen is a RestoFlo job.