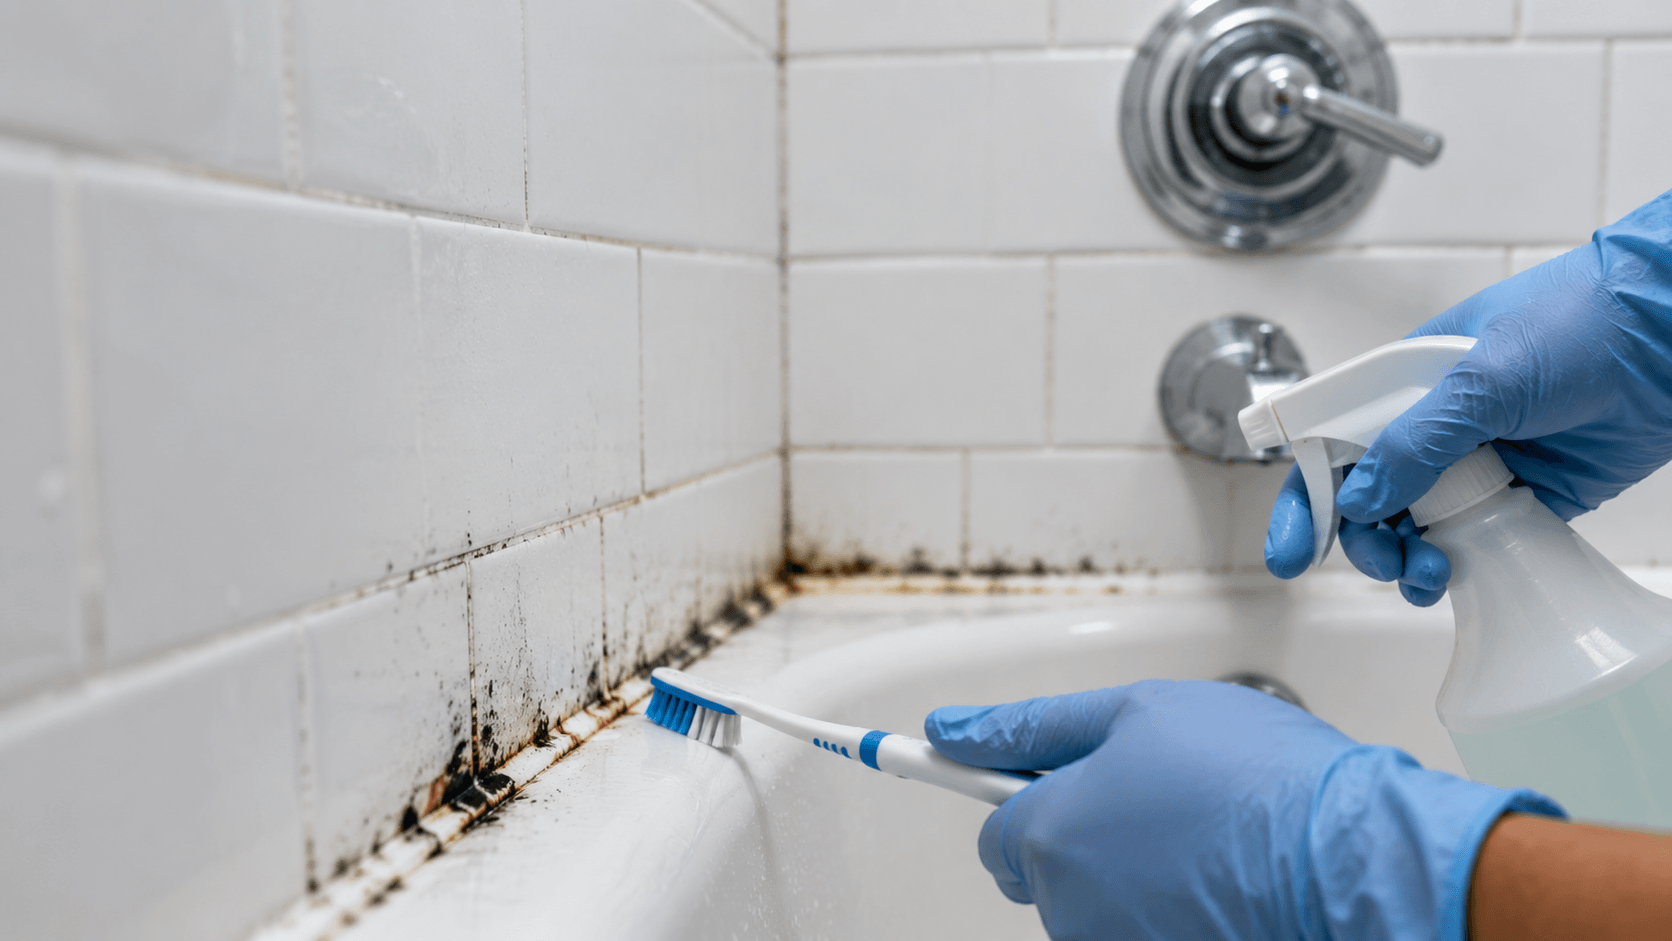
The dark streaks on the silicone caulk in your South Florida shower. The discoloration in tile grout near the floor. The fuzzy patches around the tub edge. Almost every South Florida bathroom develops some level of caulk or grout mold within a few years of installation. Our humidity, our daily shower use, and the natural propensity of mold to colonize wet, organic-rich surfaces make this inevitable. Most of the time it's a cosmetic issue. Sometimes it's the visible sign of a much bigger hidden problem.
This guide is for Miami, Fort Lauderdale, Boca Raton, and Palm Beach homeowners trying to figure out whether the mold they see in their bathroom is just a cleaning problem or the tip of an iceberg they need professional help with.
Why bathroom mold is so common in South Florida
Five factors: outdoor humidity averages 75%+ year-round; shower-generated moisture — a 10-minute shower releases 1–2 cups of water into the air; inadequate ventilation in many South Florida bathrooms; cool surfaces (tile, mirror, porcelain) stay cooler than air and condense moisture continuously; organic substrate (soap residue, hair, skin cells) feeds mold colonies on caulk and grout.
Within 1–3 years of a new bathroom, mold typically establishes in caulk seams. Within 5–10 years, it spreads to grout lines. Within 10+ years without intervention, it migrates behind the tile and into substrate.
The 3 levels of bathroom mold severity
Level 1: Surface caulk mold. Black or dark streaks on white silicone caulk in shower corners, tub seams, around fixtures. Caulk itself is sound. Mostly cosmetic. Cleaning works temporarily; eventually the caulk should be replaced.
Level 2: Grout mold + caulk. Mold has spread from caulk into grout between tiles. Bleach can lighten the surface but the mold is in the porous grout structure. Re-grouting or grout-sealing is the right answer.
Level 3: Substrate mold. Mold has migrated past grout/caulk into the wall behind the tile, the floor underlayment, or the cabinet structure. Visible signs: tile lifting, hollow-sounding tiles, water seepage where it shouldn't be, smell that persists after cleaning. This is professional remediation territory.
DIY approach for Level 1 (caulk mold)
Equipment: rubber gloves, N95 mask, eye protection, old toothbrush, microfiber cloth, your chosen cleaner.
Cleaner options: hydrogen peroxide (3%) — safe, mild bleaching action; distilled white vinegar — effective on light mold (don't combine with bleach); bleach (1:10 dilution) — strong, effective; commercial mold removers (Tilex Mold and Mildew Remover, etc.).
Process: ventilate the bathroom, apply cleaner to moldy caulk, wait 10–15 minutes, scrub with toothbrush, rinse, repeat if needed, dry thoroughly.
If the mold returns within weeks, the caulk has absorbed mold and cleaning won't permanently fix it. Replace the caulk.
DIY caulk replacement
1. Cut out the old caulk with a sharp utility knife. 2. Clean the joint with rubbing alcohol; let dry. 3. Inspect the substrate — if the wall or tub behind the caulk shows mold or water damage, stop and call a pro. 4. Apply new mildew-resistant silicone caulk (GE Silicone II Kitchen & Bath, DAP 100% Silicone Mold & Mildew Proof). 5. Smooth with finger or caulking tool. 6. Let cure 24 hours before water exposure.
New caulk + good ventilation typically gives 3–5 years before mold returns.
DIY approach for Level 2 (grout mold)
Grout is porous concrete. Surface bleach lightens but doesn't kill mold in the pores. Lighten approach (cosmetic only): bleach solution scrubbed in with stiff brush; returns in weeks to months. Re-grout approach (permanent): grout saw to remove old grout, apply new grout, seal after 7-day cure, maintain with annual sealer.
Re-grouting a typical shower takes 6–12 hours DIY. Pros do it in 3–4 hours for $400–$1,500.
When Level 2 is actually Level 3 (hidden substrate mold)
Signs: tile sounds hollow when tapped; tile lifting or loose; water seeping through grout lines from behind; persistent musty smell after surface cleaning; visible water staining on the back side of the wall; increased water bills without explanation; visible mold extending out from edges of tile.
If any of these are present, professional inspection is the right call.
What Level 3 remediation looks like
Containment with plastic barriers and HEPA negative air machine. Tile and surrounding drywall removal. Substrate assessment for insulation, drywall, framing condition. Removal of contaminated materials. Mold remediation under IICRC S520 standard. Drying with industrial dryers and dehumidifiers. Substrate rebuild with mold-resistant drywall, vapor barrier, cement board. Re-tile and grout. New fixtures and caulk. Post-remediation testing with air samples.
A typical bathroom Level 3 remediation runs $5K–$15K. Larger scopes run $15K–$30K+.
Insurance considerations
Florida homeowners insurance on bathroom mold: mold from a sudden water event (burst pipe, water heater leak, hurricane water intrusion) is typically covered up to mold endorsement limit (often $10K); mold from long-term gradual moisture is typically not covered; tile and substrate repair from a sudden cause is typically covered; the plumbing repair is sometimes covered, sometimes not.
The dispute is almost always: sudden or gradual? A homeowner with a leak just discovered has a stronger claim than one whose bathroom has obviously been wet for years.
Prevention
Daily: wipe down shower walls, squeegee the glass. After every shower: run exhaust fan 30 minutes. Weekly: spray shower walls with diluted vinegar. Monthly: visual inspection of caulk and grout. Annually: reseal grout, inspect caulk. Every 3–5 years: replace all bathroom caulk, reseal grout.
When to call RestoFlo
If you've discovered bathroom mold that's spread beyond surface caulk — particularly if tile is loose, smell persists, or water is appearing in adjacent rooms — call us. We perform Florida-licensed mold remediation, coordinate with tile and plumbing professionals on substrate and fixture work, and work directly with your insurance carrier without AOBs. 24/7 emergency line: (754) 289-4815.